Roses are one of the most cherished flowers in the world, often celebrated for their timeless beauty. Drawing a rose can seem like a daunting task, especially for beginners. However, with a little patience, the right tools, and a step-by-step guide, you can create a stunning rose in no time. This guide will walk you through the process of drawing a rose, covering everything from the initial sketch to adding the final details.
Whether you’re an art enthusiast, a hobbyist, or completely new to art, this guide will help you bring your rose drawings to life.
Tools and Materials You’ll Need
Before we start, gather the following:
- Graphite pencils (e.g., HB, 2B, 4B): For sketching and shading.
- Good quality eraser: To correct mistakes and add highlights.
- Drawing paper or sketchbook with a smooth surface.
- Optional: Colored pencils or markers to add color to your rose.
Now that you have your supplies ready, let’s begin!
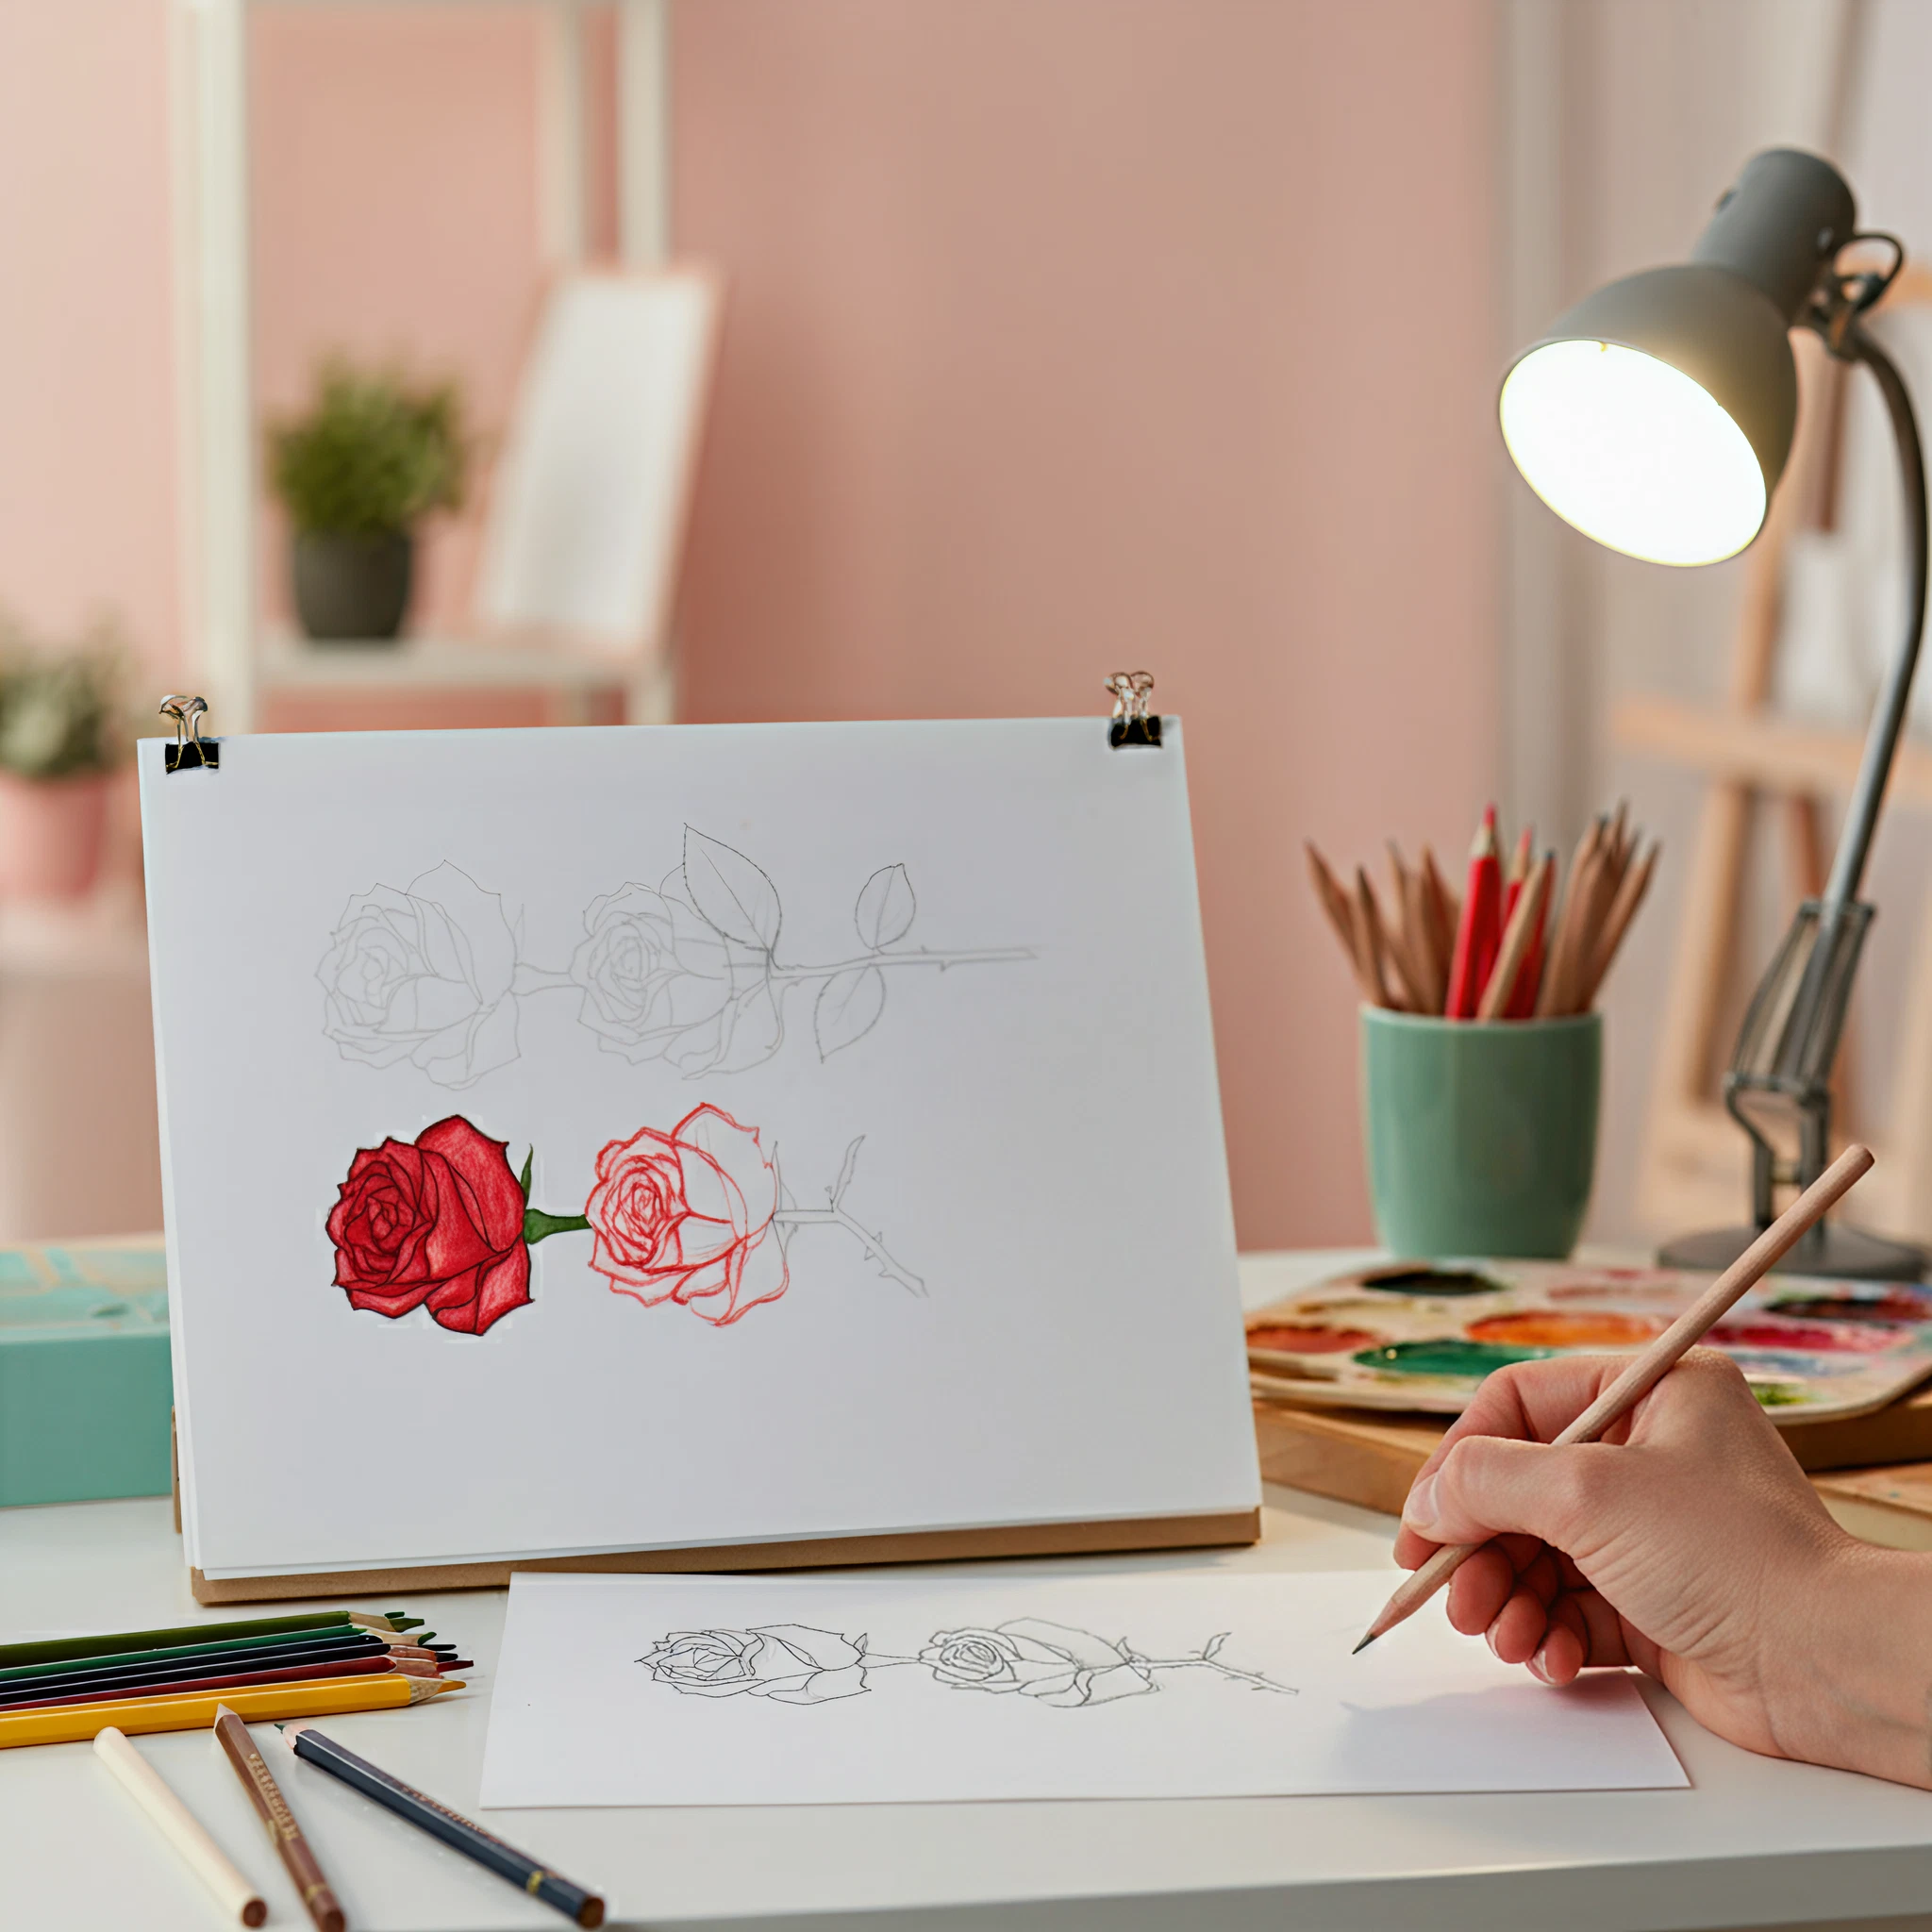
Step-by-Step Guide to Drawing a Rose
Step 1: Start with a Simple Circle
Draw a small circle in the center of your paper. This circle will serve as the base for the rose’s head. It doesn’t need to be perfect as it’s only a guideline.
Tip: Use light strokes so you can easily erase later.
Step 2: Add a Swirl for the Core
Inside the circle, draw a loose swirl. This will be the center of the rose, representing the tight inner petals.
Step 3: Draw Curved Petals Around the Swirl
Around the swirl, start adding curved petal shapes. Keep them uneven and overlapping to mimic the natural look of a rose. The petals should get larger as they extend outward.
Step 4: Sketch the Stem and Leaves
Below the rose head, draw two parallel curved lines for the stem. Next, add a few simple leaf shapes on either side of the stem. The leaves should be oval with slightly jagged edges.
Step 5: Refine the Petals and Add Details
Now go back to the petals and refine their shapes. Add folds and jagged edges to make them look more realistic. The petals should look like they’re layered, with some partially tucked under others.
Step 6: Erase Guidelines and Add Shading
Erase any unnecessary lines from your initial sketch. Use your pencils to add shading to the petals, stem, and leaves. Focus on the areas where petals overlap to create depth. Use a blending tool or tissue to smooth out the shading for a softer look.
Step 7: Final Touches
Finish by adding details like veins to the leaves or thorns on the stem. If desired, you can use colored pencils or markers to give your rose some additional flair. For a classic look, opt for shades of red, pink, and green.
Why Practice Drawing Roses?
Drawing roses is not only a fun and relaxing activity, but it also helps develop important artistic skills such as shading, perspective, and proportions. Plus, roses are a favorite subject for various creative projects, from greeting cards to wall art.
If you give this step-by-step guide a try, you’ll be amazed at how quickly your skills improve! Share your creations with fellow art enthusiasts, and don’t forget to experiment with different styles and colors.
We’d love to see your rose sketches! Feel free to share them with us in the comments or tag us on social media.
Happy drawing! 🌹