Do you have stacks of cassette tapes collecting dust, filled with nostalgia and memories? Whether you’re looking to preserve vintage music, family recordings, or irreplaceable audio archives, digitizing cassette tapes is your first step toward making sure they stand the test of time. It’s easier than you think! Follow this guide to learn how to digitize cassette tapes at home.
Why Digitize Your Cassette Tapes?
Cassette tapes deteriorate over time. They’re prone to audio degradation, tape damage, and playback wear. Digitizing them allows you to:
- Preserve precious memories permanently.
- Share audio files effortlessly.
- Improve sound quality through digital tools.
- Access and playback them on any modern device.
If you’re ready to save those sounds from fading away, let’s get started.
What You’ll Need:
Here’s a list of basic equipment to help you successfully transfer cassette tapes to your computer:
- Cassette Player (preferably with a USB output for convenience, though RCA options work too).
- Computer (Windows or Mac).
- Audio Recording Software (such as Audacity, which is free and beginner-friendly).
- USB Cable (to connect your cassette player to your computer).
- RCA Cables (if your cassette player lacks USB output).
- Audio Interface (optional, for improved sound recording quality).
Got your tools ready? Fantastic! Now follow these six simple steps.
How to Digitize Cassette Tapes
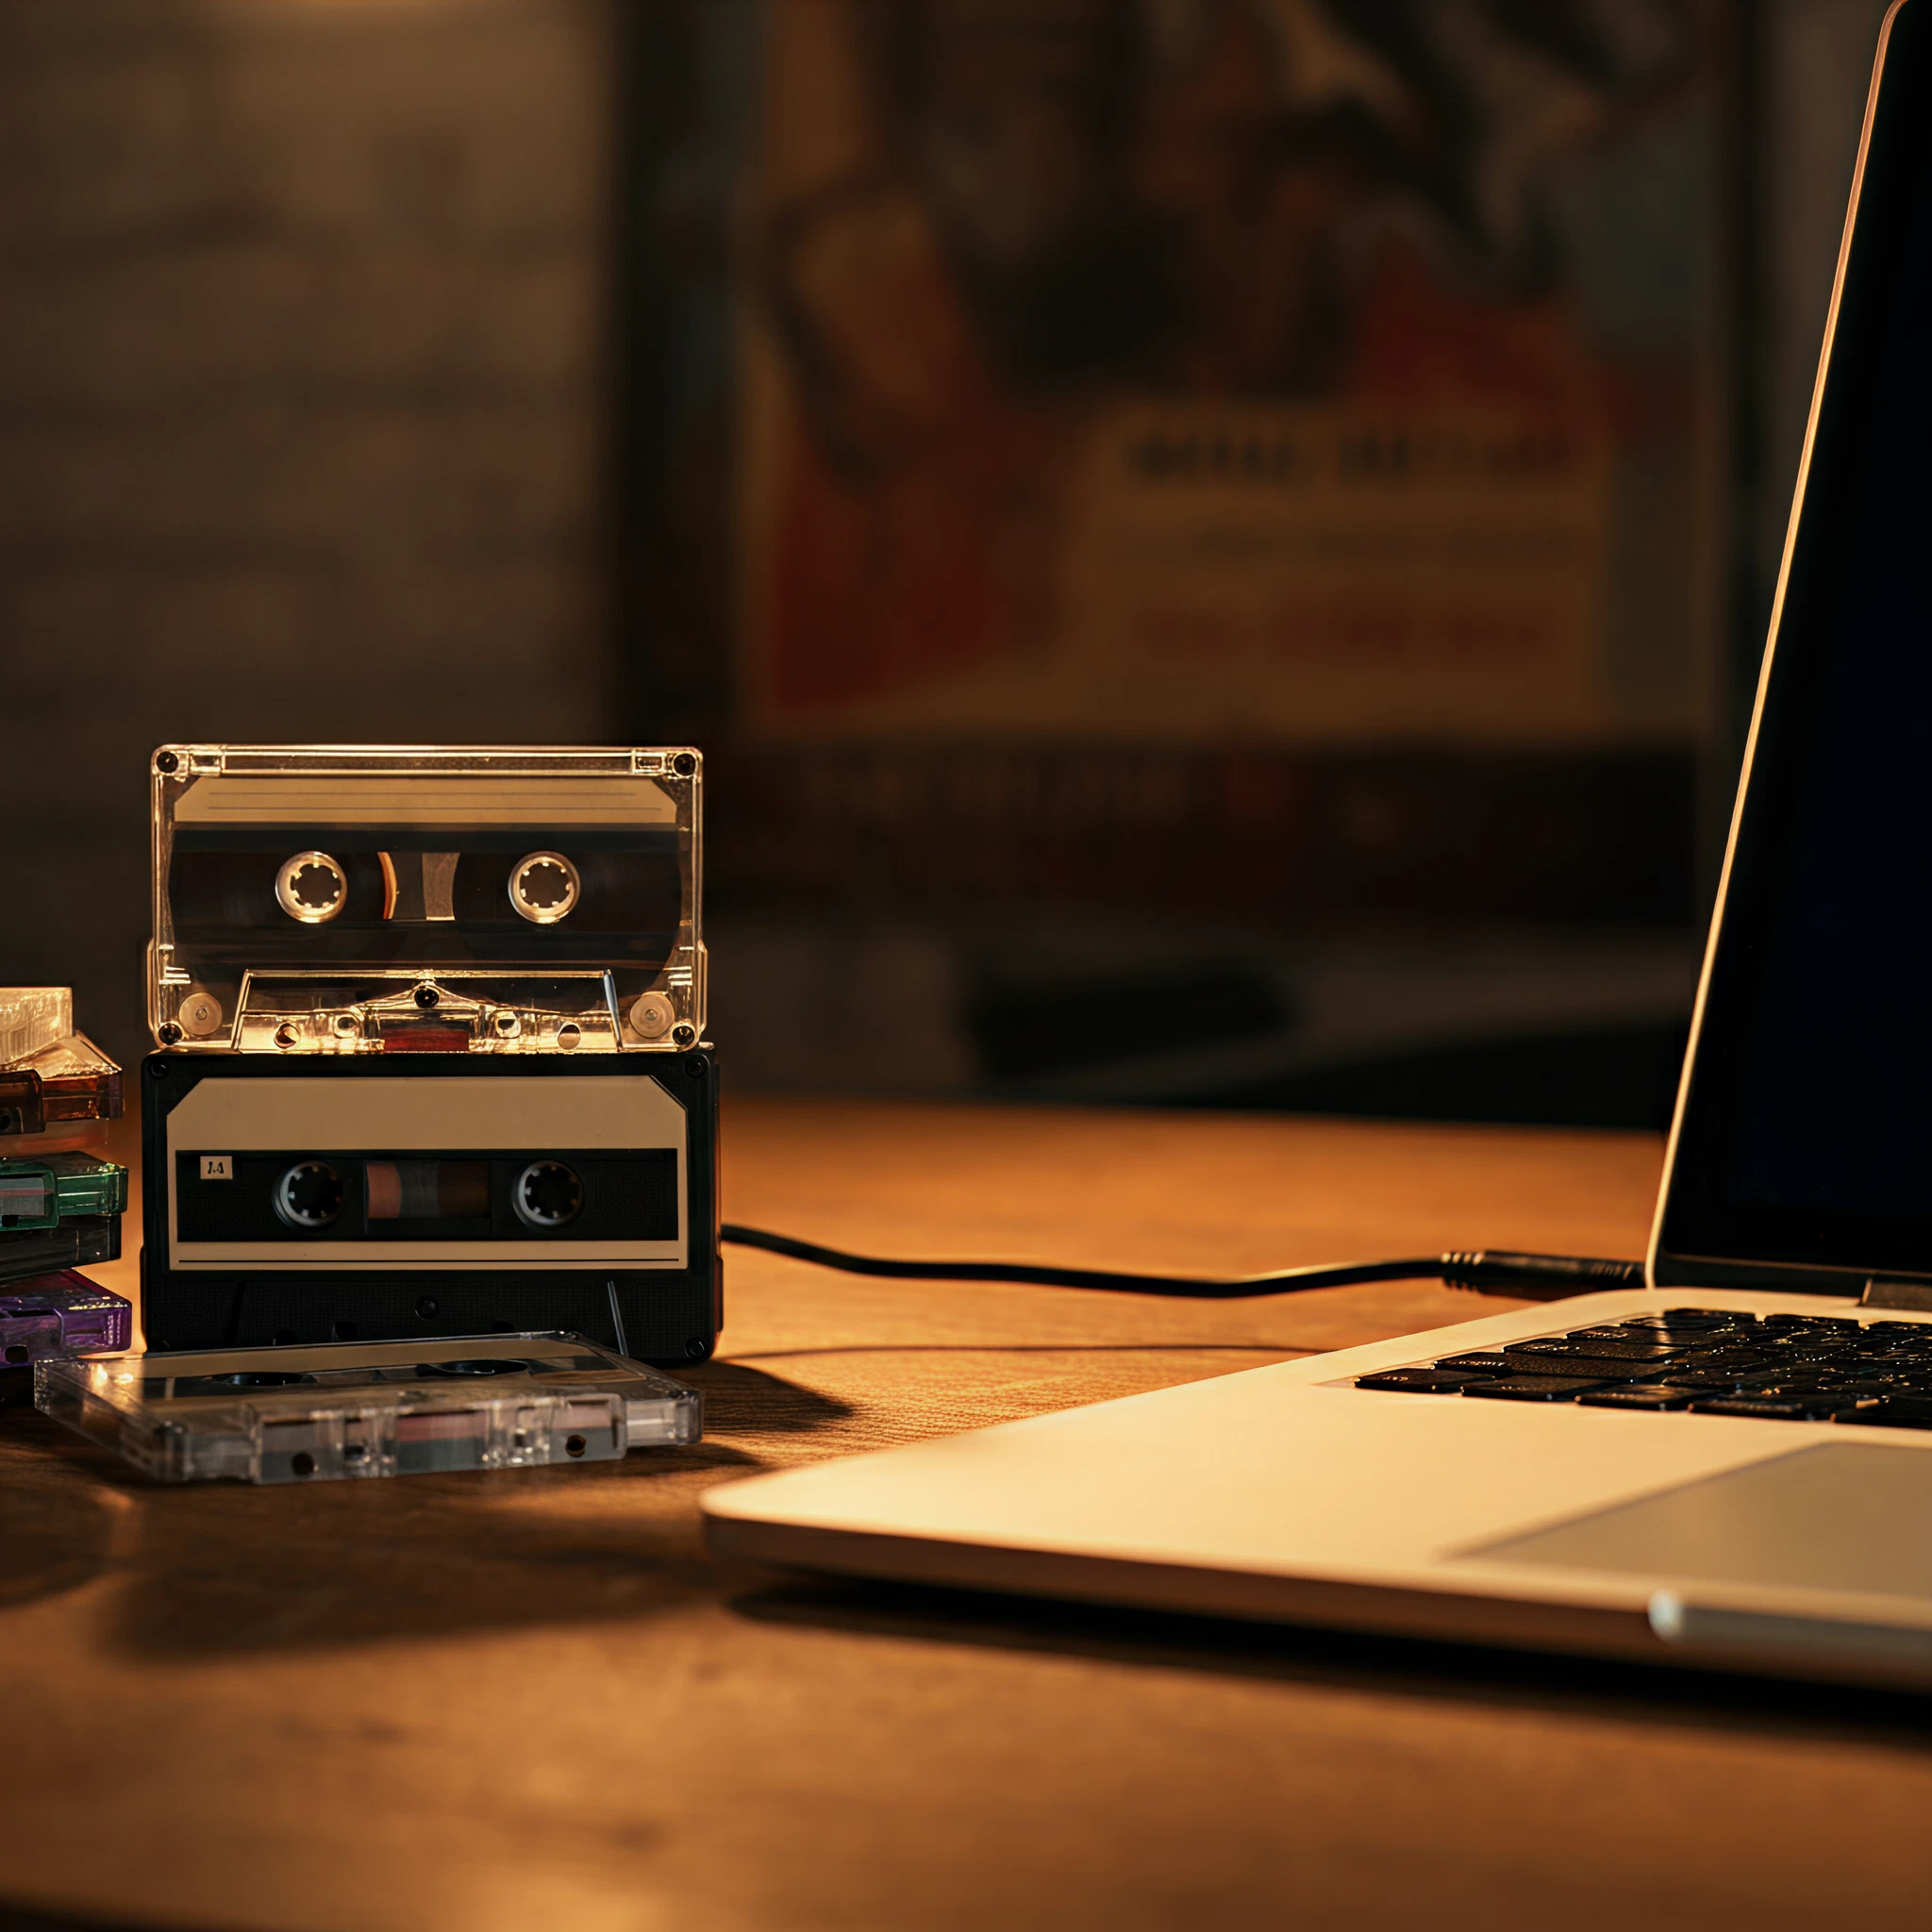
1. Connect the Cassette Player
- USB Output: If your cassette player has a USB output, plug it directly into an available USB port on your computer using a USB cable.
- No USB Output: Use RCA cables to connect your cassette player’s audio output to your computer’s input. If your computer doesn’t have the necessary ports, you may need an audio interface to bridge the connections.
Tip: Make sure the cassette player is in good working condition to avoid playback issues during the transfer.
2. Install Audio Recording Software
- Download and install Audacity (or another recording software of choice) on your computer. It’s free, powerful, and works across Windows, Mac, and Linux.
- Open the software and ensure it recognizes the input source (your cassette player). You’ll configure this in the next step.
3. Configure Audio Settings
- Open your audio recording software and locate the audio settings section.
- Set the input source to the cassette player or the audio interface you’re using.
- Choose your output format, typically WAV for the highest quality or MP3 for smaller, compressed files.
Pro Tip: Test the input by playing the cassette tape for a few seconds. If you see audio levels moving in the recording software, you’re good to go.
4. Play and Record
- Insert the cassette tape you want to digitize into the player.
- Press the Play button on the cassette player.
- Start recording in your audio software by clicking the Record button.
- Allow the tape to complete playing to capture the entire recording.
Pro Tip: Some cassette players allow you to pause halfway through when you need to flip the tape to Side B. Just ensure you don’t stop the recording process.
5. Edit and Enhance
- Once the recording is complete, stop the recording in your software.
- Use built-in tools in Audacity to:
- Remove background noise.
- Adjust audio levels.
- Cut out unwanted sections, like blank spaces or static.
Editing can enhance clarity and make your recording more enjoyable to listen to.
6. Save the Digital File
- Export your recording as a digital file. The most popular formats include:
- WAV (lossless, great for archival purposes and high-quality playback).
- MP3 (compressed, ideal for easy sharing and storage).
- Label your file descriptively so it’s easy to catalog and find later (e.g., “Band_Name_Album_Title”).
Once saved, you’ve successfully turned an analog relic into a modern digital file! 🎉
Frequently Asked Questions (FAQs)
Can I Digitize My Cassette Tapes at High Speed?
Digitizing at normal (real-time) speed is highly recommended to maintain audio quality. High-speed dubbing decks exist, but they tend to compromise the clarity of the recordings, and you’ll still need to edit the files later to adjust playback speed. For the best results, stick with real-time transfers as suggested by professionals.
Do I Need an Audio Interface?
An audio interface improves sound quality during the digitization process. It’s especially useful for audiophiles or anyone digitizing rare, high-value recordings. However, a USB-enabled cassette player works just fine for casual purposes.
What If I Have Hundreds of Tapes?
If you’re dealing with a large collection, consider dedicating specific hours to digitize a few tapes each week. Alternatively, you can outsource the task to professional digitization services if time is a concern.
Are There Other Tools Besides Audacity?
Yes! Options like GarageBand (for Mac users) or Adobe Audition (for pros) are great alternatives, though Audacity offers the best mix of functionality and simplicity for free.
Preserve Your Audio Legacy
Now that you know how to digitize cassette tapes, there’s no reason to leave those precious recordings to fade away. With a cassette player, recording software, and a little bit of patience, you can modernize your audio collection and enjoy it for years to come.
Got questions, or looking for specific product recommendations for your digitization setup? Drop them in the comments below, and we’ll be happy to help!