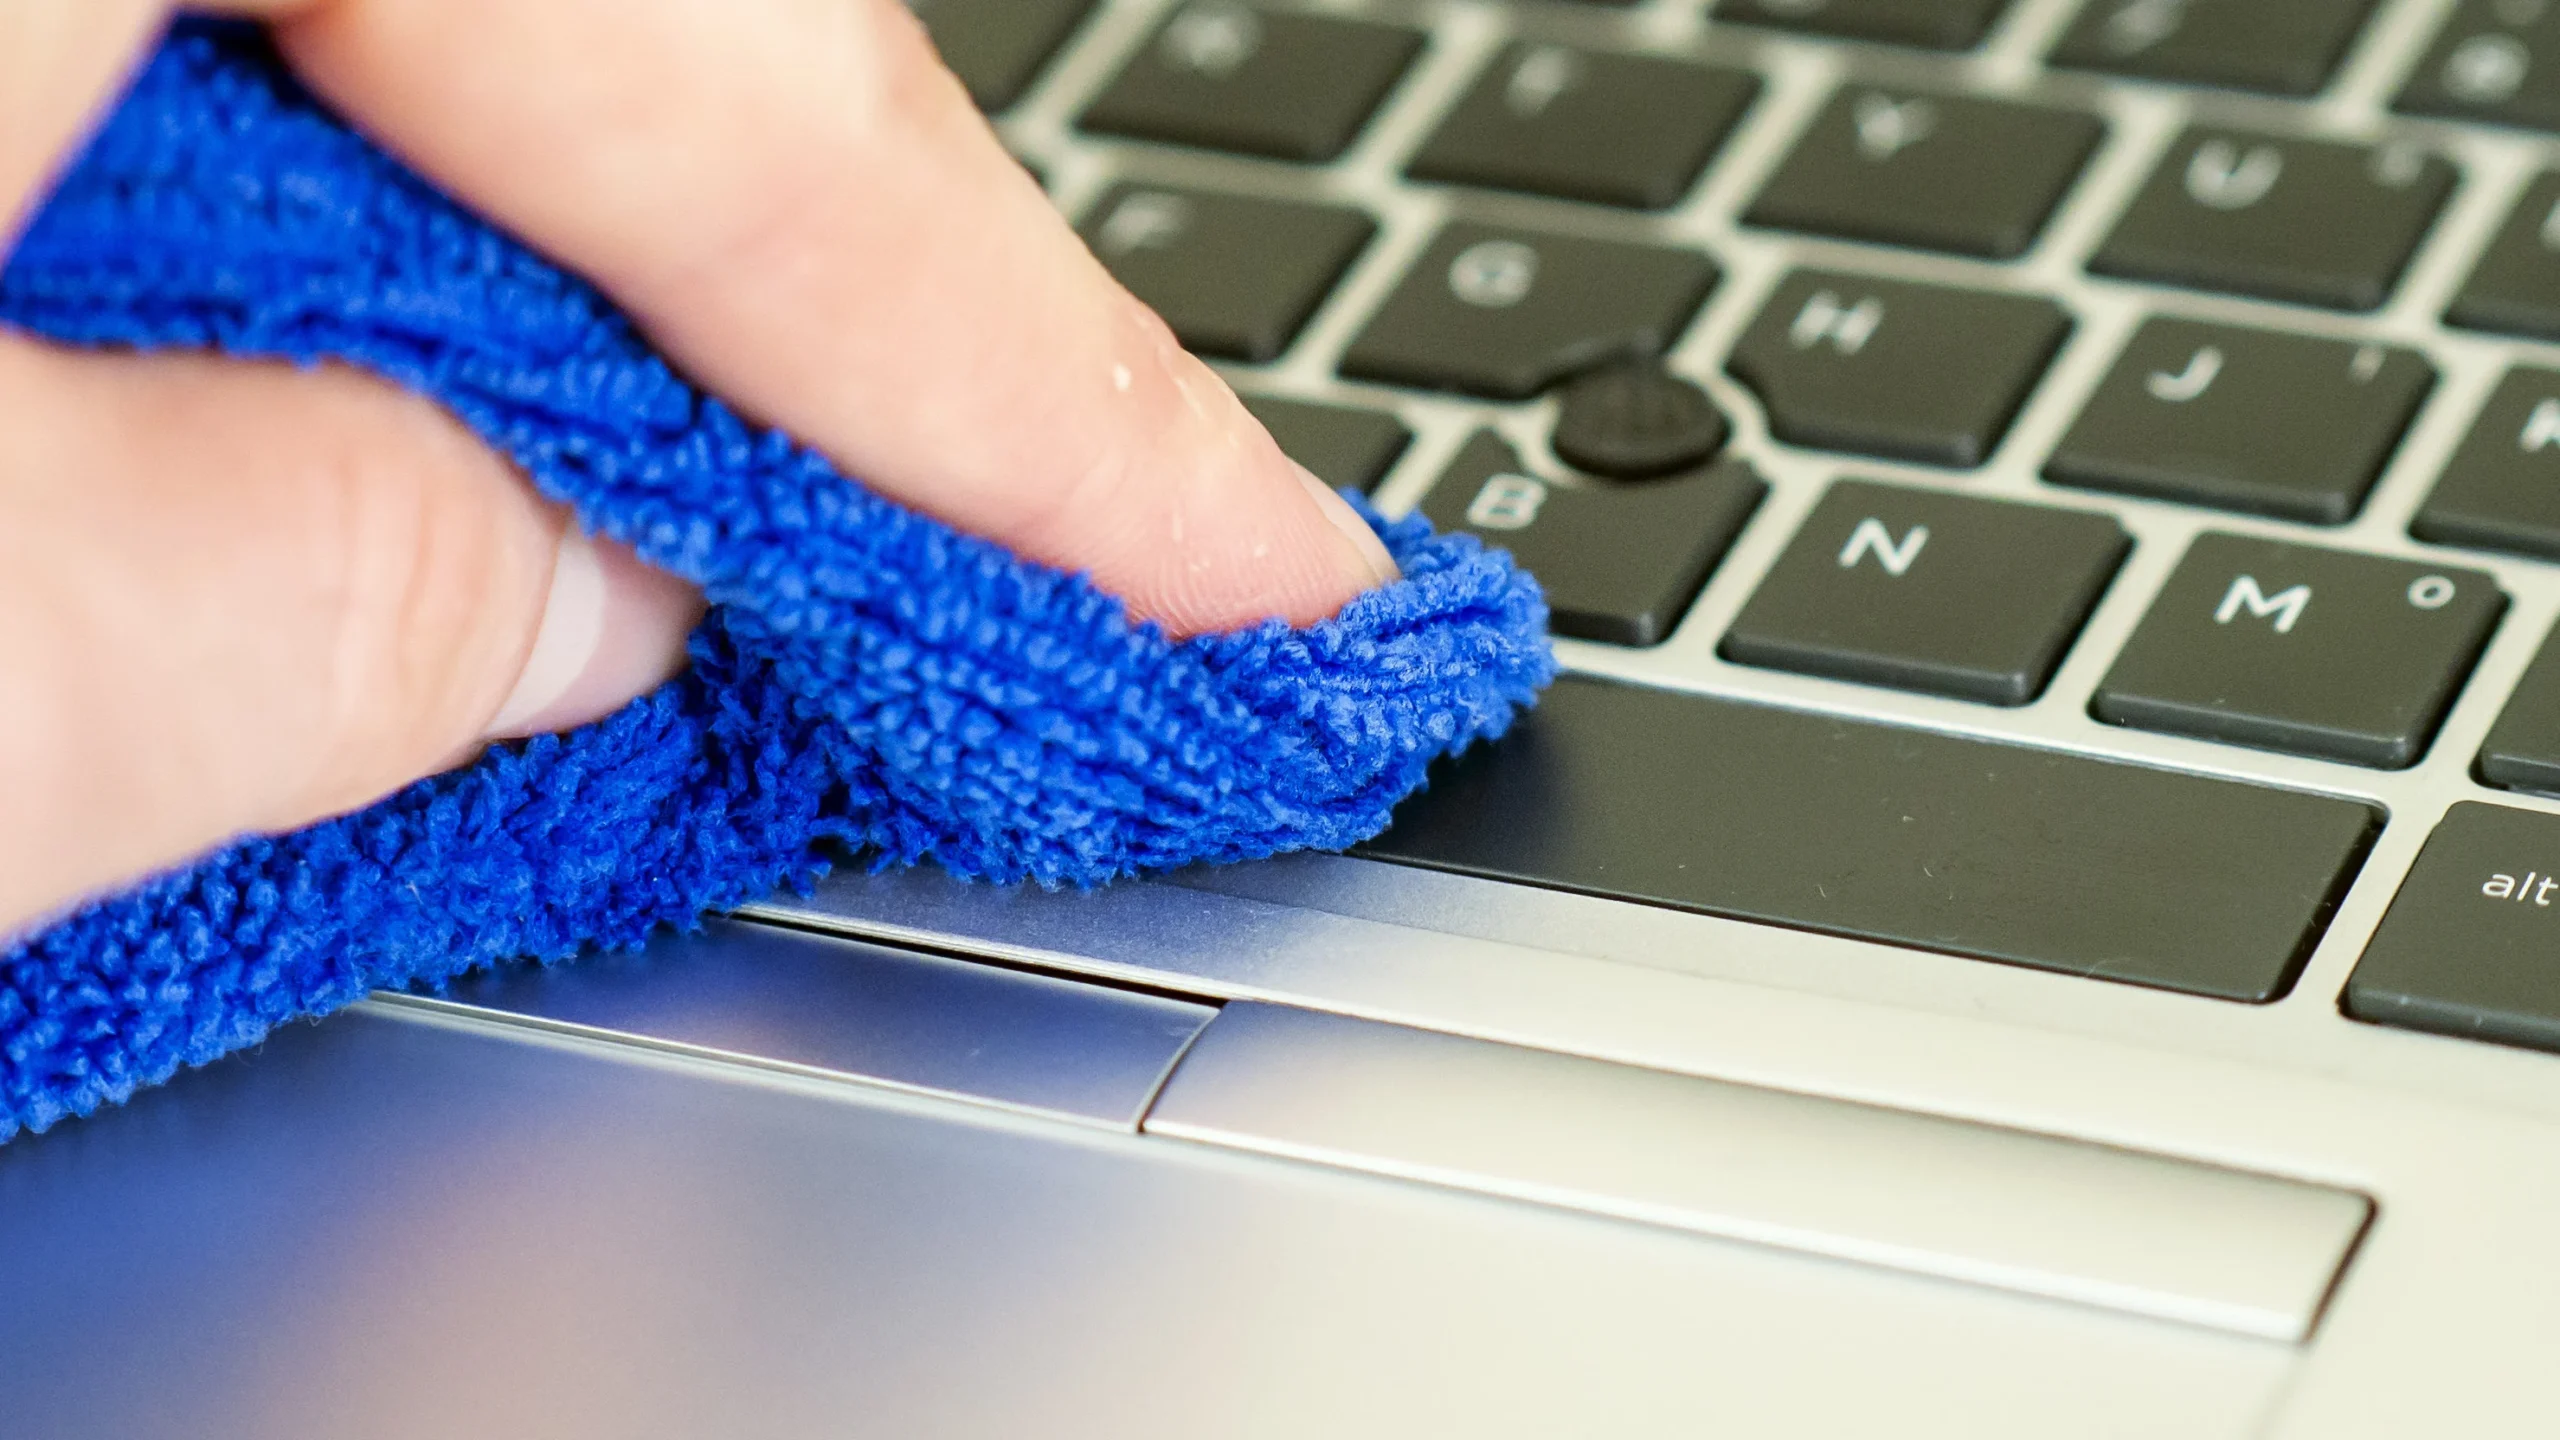
Cleaning your laptop screen regularly is essential for maintaining both its performance and aesthetics. Dust, smudges, and fingerprints can accumulate over time, making your screen harder to see and use. Plus, keeping your laptop clean can extend its lifespan and create a more hygienic workspace.
If you’re wondering how to clean your laptop screen safely and effectively, this step-by-step guide is here to help.
Why Cleaning Your Screen Matters
Your laptop screen is a delicate surface that requires proper care. Using inappropriate cleaning methods can scratch, stain, or even damage it. Regular cleaning not only ensures a better viewing experience but also prevents bacteria and allergens from building up.
What You’ll Need
Before we get started, gather these essential supplies to clean your laptop screen safely:
- A dry microfiber cloth (avoid paper towels or rough materials).
- Distilled water (tap water can leave mineral spots).
- A can of compressed air (optional, for edges and crevices).
- Screen-safe cleaning solution (optional, ensure it’s free of ammonia, acetone, or alcohol).
Now you’re ready to follow these steps!
Step-by-Step Guide to Clean Your Laptop Screen
1. Turn Off and Unplug Your Laptop
Before beginning, always power down your laptop and unplug it. An active screen is more prone to damage during cleaning, and cleaning a powered device could result in electrical issues. A turned-off screen also makes it easier to spot smudges and dust.
2. Dust With a Dry Microfiber Cloth
Using gentle, circular motions, wipe the laptop screen with a dry microfiber cloth. This step removes loose dust and prevents it from scratching the screen when you apply a cleaning solution. A microfiber cloth is perfect for doing this because it’s soft and lint-free. Avoid using paper towels or tissues as they can leave debris or scratches.
3. Address Stubborn Dirt With a Dampened Cloth
For tougher smudges or dirt, lightly dampen a clean microfiber cloth with distilled water or a screen-safe cleaning solution. Important: Never spray water or cleaner directly onto the laptop screen. Instead, dampen the cloth to avoid excess moisture that can seep into the edges and damage the electronics.
4. Wipe Using Circular Motions
Gently wipe the screen using a circular motion to avoid streaks. Do not press too hard, as excessive pressure can damage the screen or cause uneven areas to form. Take your time and ensure you cover all areas evenly.
5. Avoid Abrasive Cleaners
Steer clear of glass cleaners, household cleaning products, or any solution that contains ammonia, acetone, or alcohol. These can strip coatings and damage the display. If you’re using a commercial screen cleaner, make sure it’s specifically labeled for laptops or displays.
6. Clean the Edges and Corners With Compressed Air
Dust tends to accumulate in the corners of your laptop screen. To remove it, use a can of compressed air to blow dust away from these hard-to-reach areas. Angle the can appropriately to blow the dust outward, not deeper into the device.
7. Allow the Screen to Air Dry
After cleaning, allow the screen to air dry for a few minutes. Avoid using the laptop or closing the lid until the screen is completely dry. This prevents moisture from getting trapped and causing potential issues.
Additional Tips for Keeping Your Screen Clean
- Frequency: Clean your screen every couple of weeks or as soon as you notice it accumulating dust or fingerprints.
- Hand Hygiene: Wash your hands before using your laptop to prevent transferring oils or grease onto the screen.
- Protection: Consider using a keyboard cover or screen protector to minimize dirt and smudges long-term.
- Handle With Care: Always avoid applying too much pressure or using rough materials on the screen.
Final Thoughts
By learning how to clean your laptop screen the right way, you’ll keep it looking great and functioning properly for years to come. Regular maintenance not only enhances your viewing experience but also helps maintain the value of your laptop.
Got more questions about taking care of your tech? Drop a comment or request another tutorial—we’re here to help!


