Removing a sticker from your car might sound daunting, but with the right tools and techniques, it’s a straightforward process that won’t damage your car’s paint. Whether it’s a dealer sticker, a parking pass, or a decal you no longer want, this step-by-step guide will walk you through how to remove stickers safely and effectively.
Why Proper Sticker Removal Matters
Using the wrong tools or techniques can lead to scratches, adhesive residue, or even damage to your car’s paint. Following these steps ensures that your car will look as good as new without any harm to its finish.
Tools You’ll Need:
- Heat Gun or Hairdryer
- Adhesive Remover (e.g., Goo Gone, 3M Adhesive Remover)
- Plastic Scraper or Plastic Card
- Clean, Soft Microfiber Cloth
- Car Soap and Water
- Car Wax
Using the right tools is key to making the process easier and avoiding any accidental damage.
Step-by-Step Guide on How to Remove a Sticker from a Car
Step 1: Heat the Sticker
Begin by softening the sticker’s adhesive.
- Turn on a hairdryer or heat gun and set it to medium heat. A hairdryer is generally safer, as a heat gun can get too hot and potentially damage your car’s paint.
- Hold the hairdryer about 3-5 inches away from the sticker and move it back and forth to evenly heat the area.
- Heat for about 1–2 minutes or until you feel the sticker loosening when you touch it.
Pro Tip: Never overheat the area. Excessive heat could harm your paint or clear coat.
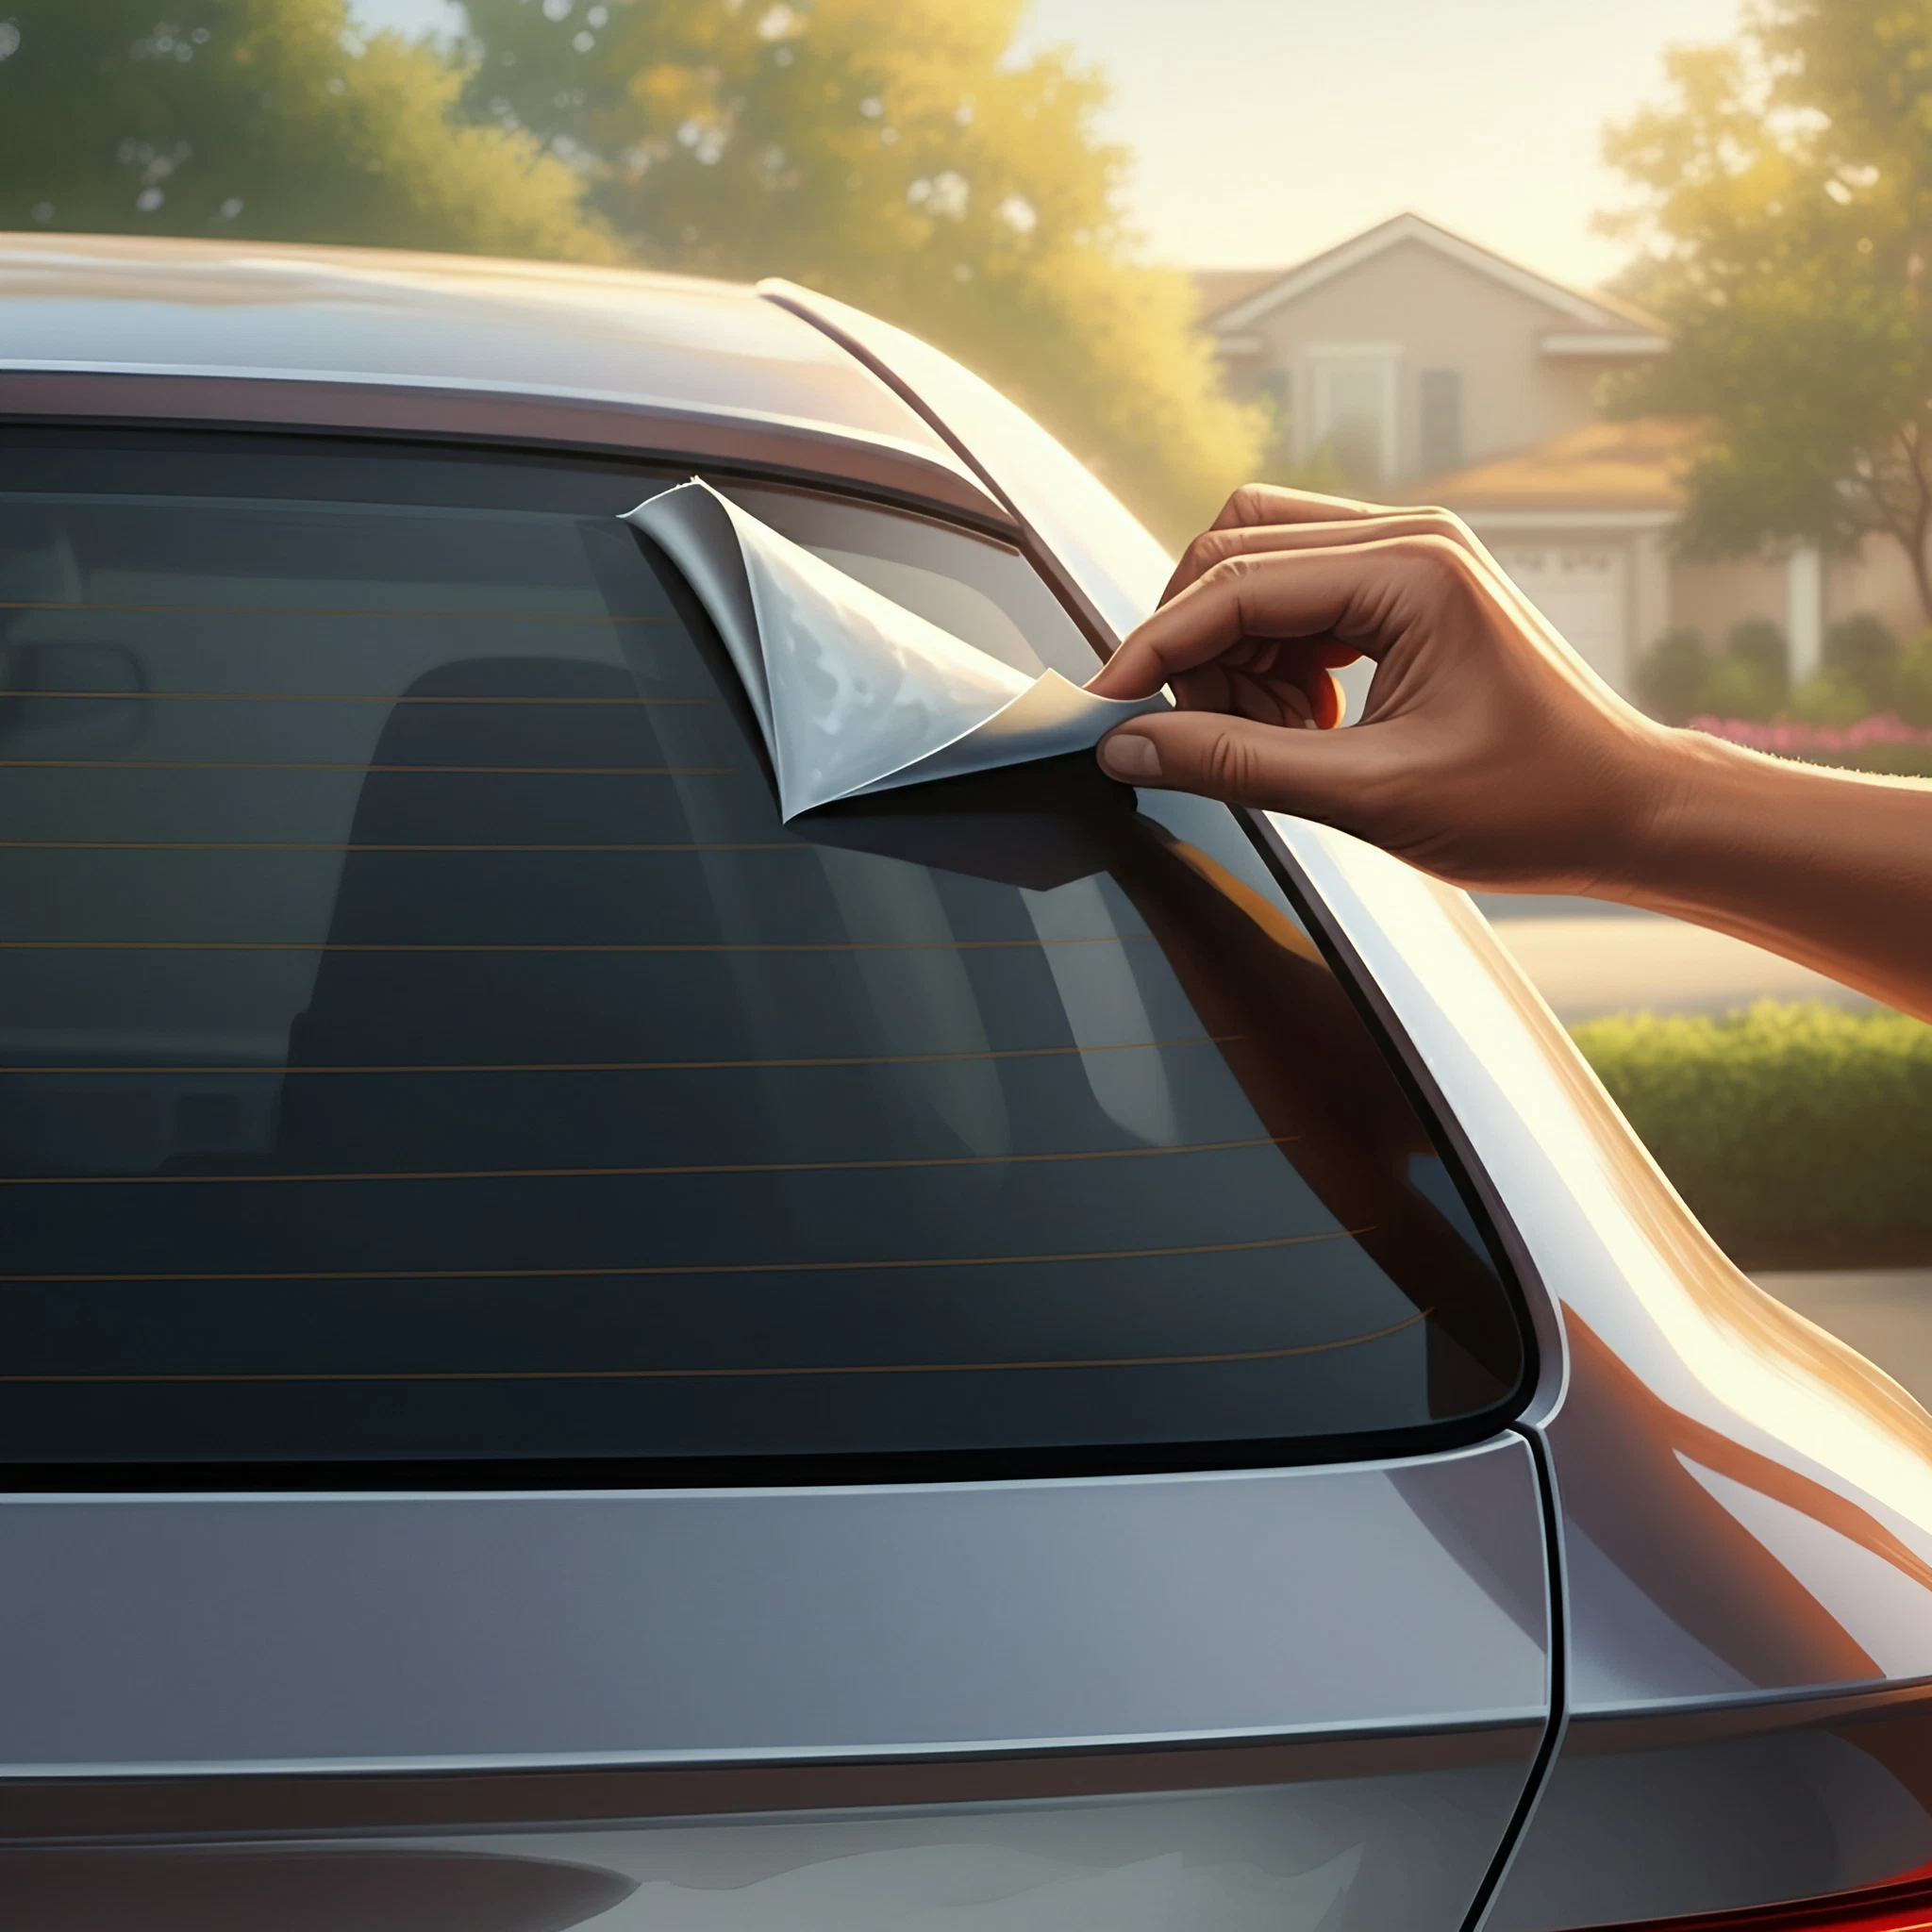
Step 2: Peel the Sticker
- Once the adhesive softens, start peeling from one corner of the sticker.
- Use a plastic scraper or an old plastic card (like a loyalty card) to lift the edge gently. Avoid using anything sharp, as it could scratch your car.
- Pull the sticker slowly and at a low angle to minimize tearing. If the sticker breaks or leaves residue, don’t panic—that’s common and will be addressed in the next steps.
Step 3: Apply Adhesive Remover
Even with the sticker gone, adhesive residue might remain. Here’s how to get rid of it:
- Apply a small amount of adhesive remover (such as Goo Gone or WD-40) to a clean, soft cloth or directly on the adhesive spot.
- Gently rub the area in a circular motion until the residue dissolves.
- For larger areas, you may need to reapply and repeat this process a couple of times.
Important: Always test adhesive remover on a hidden area to make sure it doesn’t damage your car’s paint.
Step 4: Wipe Clean
- Once the adhesive is removed, use a damp microfiber cloth to wipe the area clean and remove any traces of the adhesive remover.
- Use a car-safe soap and water solution to ensure the area is fully clean.
Step 5: Wash and Wax
After cleaning, it’s important to protect your car’s paint.
- Use car soap to wash the area and rinse with clean water.
- Once it’s dry, apply a good quality car wax to the area. Waxing helps protect the paint and adds back any shine that might have been dulled during the cleaning process.
Pro Tip: Waxing your car regularly helps prevent stickers and similar adhesives from sticking too strongly in the future.
Common Questions About Removing Stickers from Cars
Can I use a razor blade to remove the sticker?
Avoid using razor blades, as they can easily scratch or chip the paint. Always opt for a plastic scraper or card for safe removal.
What if the sticker is on the window instead of the paint?
For glass surfaces, you can safely use a razor blade or scraper in combination with adhesive remover. Be sure to hold the blade at an angle to avoid scratches.
Will the adhesive remover damage my car’s paint?
Most adhesive removers are safe for factory paint; however, aftermarket paint jobs or wraps may be more sensitive. Always test on an inconspicuous area first.
What if the sticker didn’t come off in one piece?
If the sticker tears during peeling, repeat the heating and peeling steps, focusing on any leftover pieces.
Is there a difference between stickers and decals?
While the removal process is similar, decals may have stronger adhesive and could require additional soaking with adhesive remover or heating to loosen the glue.
Protect Your Car Long Term
Once you’ve successfully removed the sticker, keeping your car in its best condition is essential. Here are a few tips:
- Wash Regularly: Dirt and debris can harm your car’s paint over time.
- Wax Consistently: Waxing creates a protective layer against environmental elements.
- Use a Car Cover (if you don’t have garage storage): Protect your paint from UV rays, bird droppings, and tree sap.
- Avoid Stickers Wherever Possible: If you must add one, opt for magnetic or cling options that are non-adhesive.
Removing stickers the right way ensures your car stays looking sharp and well-maintained.
Need Visual Help? Check Out Our Step-by-Step Image Guide
Example Image Descriptions:
- Heating the Sticker – A person using a hairdryer pointed at a car sticker.
- Peeling the Sticker – Close-up of a hand lifting the edge of a sticker using a plastic scraper.
- Cleaning Residue – Applying adhesive remover using a microfiber cloth.
- Waxing the Area – A clean car surface with a person applying wax in smooth, circular motions.
Removing a sticker from your car might take a little patience, but these methods ensure it’s done safely without damaging your paint. Whether you’re fresh off the lot or simply changing your car’s look, stick to these techniques to keep your ride looking good as new!